Tuesday, October 26, 2010

Goodies for Halloween - Cupcake & Cookie Costume Tutorial

My family lives near a wonderful bakery.  And my children are the biggest fans!  While trying to decide what to torture dress up my twins for Halloween, I landed on a couple of super cute options from PBK which would fit the theme of "Goodies from the Bakery".  And while I am often a shopper of this wonderful store, I found this tutorial online and became inspired to get my craft on!   The result? 

CUPCAKE for my daughter!


And a COOKIE for my son!


My supply list included:
 2 yards of Pink fleece
1.5 yards of dark brown felt
1 yard of cream felt
White grosgrain ribbon
Wide brown ribbon
1 yard of white ruffle trim
10 felt squares (various colors)
Scissors
Pins
Heat/Iron Interfacing
Thread or Embroidery floss (I used the embroidery floss) in colors to match felt
Items to make circles (I used a stencil tool, container from kitchen, basket & place mat.  I could have also used an embroidery hoop)


Cupcake

I pretty much followed the tutorial from Lemon Tree's site.  I decided to make mine "sew" vs. "no sew" only because I knew my 2.5 year old would find more joy in ripping off glued pieces / circles than collecting candy on Halloween.  And since I don't have a sewing machine ::cough, cough . . . Xmas list!::  I decided to hand sew all the pieces.  Yes, this took a lot bit more time, but since I don't know how to use a sewing machine I'll call it a "wash" time-wise in the end.  :)

I used a few items for guides instead of free handing . . . like, I used one of my daughter's dresses to measure out the length for the two fleece pieces and the felt cupcake bottom (go ahead -- try to get a 2.5 year old toddler to sit still to measure.  I dare you!).


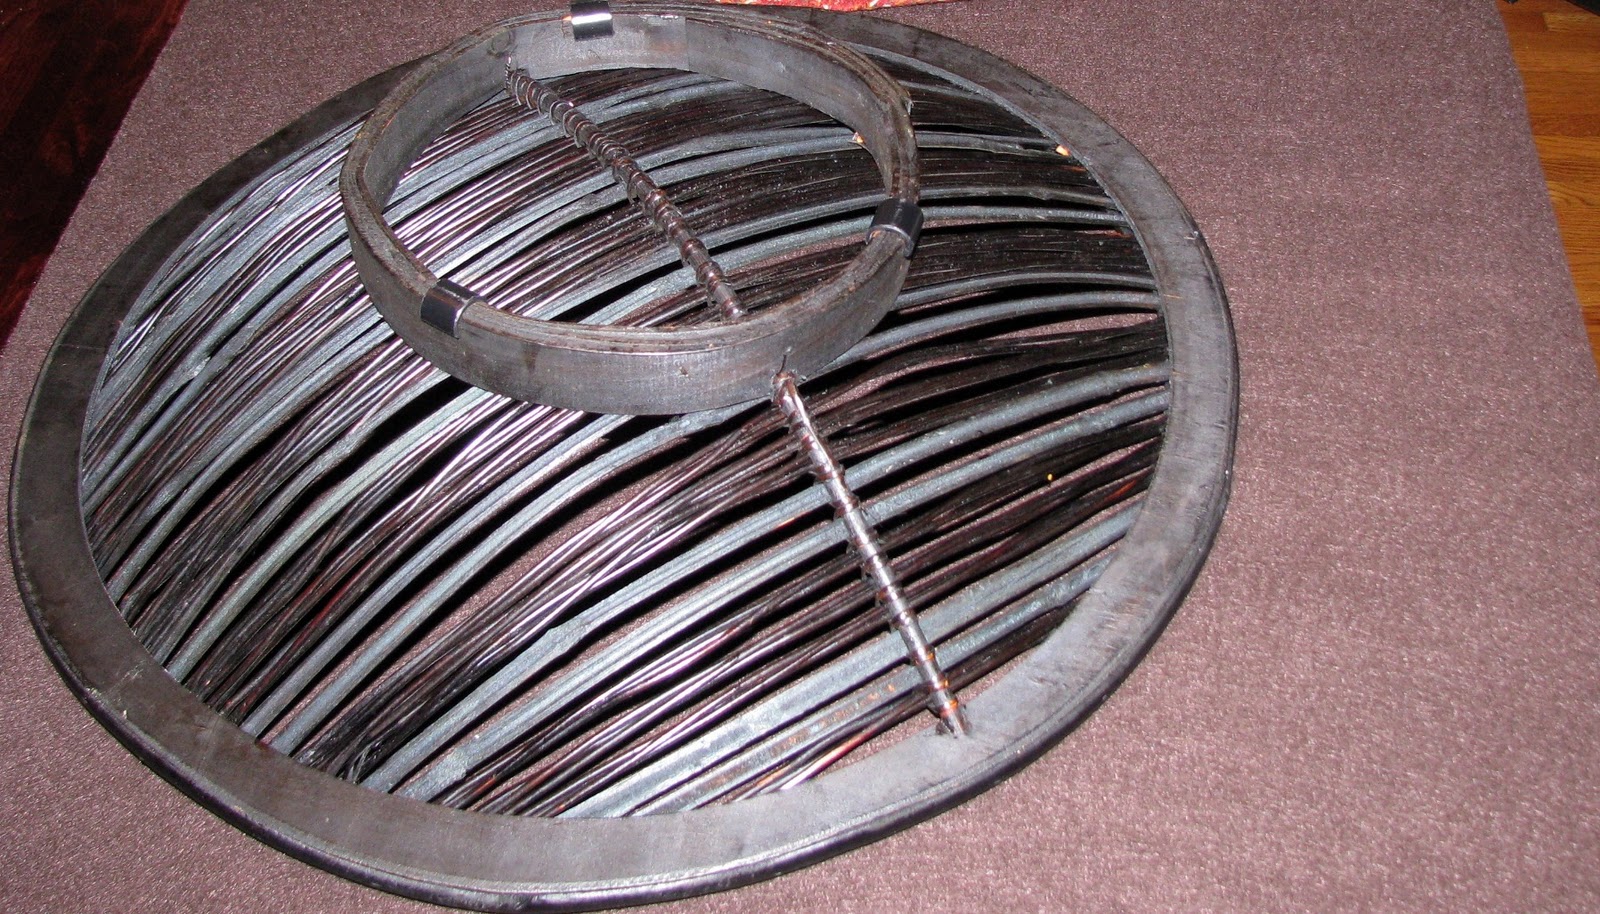
I used a kitchen container to map out the scallop look on the two fleece pieces


I also used a ruler / guide to measure out the pieces for the bottom of the cupcake and the circles for the sprinkes on the cupcake.


I also cut arm holes for the bottom layer of fleece -- it just seems to lay a bit better.  And I also sewed on a strawberry with fluff to a headband just to complete the piece!


Cookie

I took my scraps from the cupcake project and made a cookie for my son.  My scientific way to measure out the size for this was to take various circle shaped things from around my house and hold them up to my son's chest.  Nice, eh?  The black basket that holds decorative balls in my living room seemed to be the best fit.  So I used this to cut out my main cookie.  I folded the felt in half and cut 2 circles at a time (so I had 4 total circles).


I then used a smaller circle (a place mat from my dining room) to measure out the "icing".  I only cut one circle for this.  


Next I used scrap felt to make the "sprinkles" and placed them on (and pinned) to see how many I would need. 

{this is where it got to be late into the night and I stopped taking pictures.  Sorry!}. 
I pinned the cream "icing" to ONE piece of the brown felt.  Then I stitched the icing to the brown felt and each piece of sprinkle to the icing.  Then I used the interfacing to bond a 2nd piece of brown felt to the main front (just making it thicker and more sturdy).  I did the same to the 2 remaining pieces of brown felt for the back of the cookie.  Then I measured out two shoulder straps from the brown ribbon and I also ended adding 2 small straps to the sides for stability as well.
Both outfits will be finished off with brown pants & coordinating shirts underneath.  Check my family blog later this week for pictures of the little peeps in their outfits (hopefully). 
Happy Halloween!

Thursday, October 14, 2010

Show your spirit!!

School spirit, that is!!

A little while ago a friend of mine asked if I could whip up a couple of hats for her twin girls in the colors of our local college, Ohio State (like how I framed that like it was some tiny school?  HA!).   She wanted scarlet & gray and a flower. Easy enough, right? 

I was so excited to have a new challenge.  I ended up sort of doing my own pattern (which I promise to type up at some point), but my inspiration was this hat design posted HERE and the flower pattern found HERE.  I ended up  doing straight stockinette stitch for the hats instead of what the pattern called for and I made a few other minor tweaks as well.  And since I'm not a fan of paying attention to gauge when knitting, they came out a bit too large, but luckily the girls will have room to grow into them. :)

I used my new favorite yarn of all time, Deborah Norville Serenity Chunky Yarn (oh how I wish they made this yarn in more colors!!!) in Molten Lava and Lion Brand Jiffy yarn in Dove & Dark Heather Gray.


I am super pleased with how they turned out!  We're Notre Dame Irish fans in our house, so now my challenge is to make a ND version for my daughter (and maybe a less girlie version for my son, too). 

Tuesday, October 12, 2010

Ice Pop Sleeves

My boys have recently become obsessed with ice pops, a little later in the game compared to other 2 1/2 year olds.  They hate, however, cold fingers.  When I came across this post from A Girl and A Glue Gun, I knew I had to make some.

While shopping in Joanne's, I couldn't remember what sort of fabric was used.  I thought it was fleece, but couldn't find anything with a small print that would be cute, so I opted for flannel.  

If they fray, we'll make replacements soon.  It's more likely that they will get lost.

I made eight of these in no time flat.  Just cut and sew. 
Easy peasy, my kind of sewing.

Hope you enjoy the photos of my guys showing them off.


Posted by PicasaI'll try to remember to take photos during the process next time!


Friday, October 8, 2010

Tis the season - Pumpkins

Now that the weather is finally starting to break and the leaves are changing colors, my knitting needles have come out of hibernation.  

Last year I took on a new knitting challenge.  Up until then, my knitting forte had been scarves -- and LOTS of them!  But I wanted to branch out and this seemed like a perfect project for the pumpkin patch with my little ones.  Nothing screams child torture like being forced to wear a pumpkin on your head. :)

I found this simple, beginner pattern here.  I went on a mad hunt to find the perfect shades of deep orange and green and landed with a color combo from the Vanna Choice collection by Lion Brand (the colors I used were Rust and Olive).  It is just the right deep, not screaming orange shade AND has a nice softer feel for infants & toddler.  Plus the yarn is very forgiving -- when made to the "infant" size of the pattern, this yarn will actually "give" enough to fit my 2.5 yr old toddlers again this year.


This is a quick, easy project.  Have fun pickin'!

Wednesday, October 6, 2010

Simple Reward Chart for Toddlers

I started searching for a potty reward chart for my soon to be 2.5 year old twin boys.  Then, I decided just a reward chart would be nice, something similar to a the chore charts you see.  You know, for those rare times when they listen to Mommy.  I needed something super simple since it would be covered by stickers in the near future (we hope!). 


My search quickly found that reward charts were 1) cartoon-y, 2) all things primary colors, or 3) boring.  I wanted something fun.  So, I threw this together, literally.  I kept it simple.  Not only did it not need embellishments, since stickers were in it's future, but it had to be 2 year old proof (if that's possible). 


Here they are, one chart for each boy:


I used 12" x 12" sheets of My Mind's Eye 2 sided cardstock from the Out Out collection, leftover ribbon, 1 1/2" circle punch, 2" scalloped rectangle punch, thickers, and my favorite....
kraft paper [sighs]. 

I wanted 6 across, but the scalloped punch was too large.  If the two charts hung side by side weren't symmetrical, it would have drove me insane. 

My plan is to have a big reward when each "row" is filled with stickers.  Big rewards will consist of $1 items from Target or Dollar Tree.  Items like books, dinosaurs, or cars will make excellent bribes rewards.  Stickers will be rewarded upon using the potty, following directions, or not throwing fits every 3 seconds.

Now to implement the reward system and stock up on rewards.....


Tuesday, October 5, 2010

Meet our bloggers

We're Jenn & Sara, two working moms of multiples who find time to craft (and blog) amongst the day-to-day chaos. 

We are addicted to crafting in our "free time" and hope you enjoy learning more about our projects.   We'll give credit where credit is due and you may see us absent from time to time as life gets in the way of our fun stuff. 
::insert eye roll here::

Thanks for visiting!

Read more on our family blogs HERE and HERE.